Showing posts with label crafts. Show all posts

Monday, May 5, 2014

water color gallery wall

Have you heard of Waterlogue? It's been all over the blog world recently so you probably have, but if not, you really need to check it out! It's an app that turns any picture into a water color, and I'm kind of obsessed with it. For $2.99 plus the cost of printing, you get a personal piece of art!

I used Waterlogue and the Shutterfly app to create this wall in my living room:

These are all pictures I've taken on various trips. Kauai, Cancun, Paris, London, Ireland, and Venice are all represented. I love that I took each of them, and now they're such a cool part of  my living room. This wall is the first thing you see when you walk in the front door, and it makes me so happy every time I see it.

For the past 7 years, that wall has looked like this:
I liked the mirror and sconces, but it was time for a change.

I love the bright white frames and the addition of more color in the room. I'm trying to get away from having a specific color for each room (it was purple in this one, and I'm slowly getting away from every accessory being purple), and this has made a big difference.


I ordered 4x4 prints from Shutterfly for $.15 each, and these frames were $1 each at Michaels!

They're the unfinished ones that you can paint however you want. I spray painted mine white, but you could do any color, or a variety of colors, to coordinate with your home.

I love how the white frames make the colors in the pictures really stand out. This church in Ireland is one of my favorites!

This is my very favorite of all the pictures I've used Waterlogue on though.

It's a beach in Kauai, and I love everything about the way it looks as a water color. So I ordered an 8x10 print of this one, and (for now) it's sitting on the table next to the couch.

If you haven't tried Waterlogue yet, what are you waiting for?! It's so fun to see your pictures transform into water colors, and I love using pictures I've taken in my travels to create amazing and unique decor in my home. It's the only app I've ever paid for, and it's so worth it. I'm so excited about this new wall!

I've made a few other changes in my living room lately as the weather has started to warm up. I'm not sure I love this mantel, but what I do love about it is the addition of the flowers and grass in the vase (from Kauai!):

I've never been a big fan of fake plants before because I always thought they looked too...well, fake. You really can find some that are pretty real looking now though, and I'm loving the feeling of bringing nature and spring inside (I also love Ellen :) ).

This is what that wall looked like last spring:
The mantel decor is more simple now, and in December I added the shelf above the TV. It's a beautiful slab of wood with the bark still on the edges, and I just sealed it with polyurethane to keep the natural look.

Between the mantel, the shelf, and the vase next to the TV, I've added a lot of green plants and it gives the room such a happy, springy feeling. 

I've got one other change in this room coming up soon! It involves the mirror that used to be above the couch...

Thursday, September 19, 2013

fall mantel

I put out some fall stuff a few weeks ago and I'm finally getting around to posting some pictures. I love this time of year, and after the brutal summer we had this fall is especially welcome. I love adding orange to my living room and kitchen. Opening my box of fall decorations is always so fun, and when you add in pumpkin, cinnamon, and a Leaves candle from Bath & Body Works...I'm in heaven.

For the last 2 years, my fall mantel has looked like this

I loved it and wanted to keep some of it the same, but I did want to change it up a little bit so this year I made a couple of small changes. Nothing is new, just moved around which is always fun. I'm very traditional when it comes to holiday decorating, and for me part of that is using the same stuff from year to year. I love to add in a few new things each year or use the old stuff in a different way, but for the most part I like to find things I love and stick with them. There's something so comforting and familiar about pulling them out of the box and surrounding myself with things I love.
My leaf wreath, fall letters, and leaf garland all made it back this year, and I still love them all.

Instead of the candles on the left, I filled a lantern with some little pumpkins and gourds

And on the right I used this ceramic pumpkin instead of the "give thanks" sign.

I love how festive it is!


Besides my mantel, I put out a few other fall things around the living room and kitchen, including my fall yarn wreath

This is on a table next to the couch. That platter will come down when I have some fall treats to put on it, but for now I'm loving it here.

Some cute pumpkin towels in the kitchen

And one of my favorite fall things are these leaf goblets. I bought 6 of them at the dollar store a couple of years ago and I love them. I was so excited to take them out of the cupboard where I keep my holiday dishes. They're just more fun to drink from than a regular glass.

Autumn

Linked to

Monday, July 8, 2013

framed scrapbook paper

If you've been here in the last few weeks, you know I have recently fallen in love. With a color. 

It's Sherwin Williams Grays Harbor, and I want it to take over my house. 

In my ongoing quest to surround myself with Grays Harbor, I did a simple little project to add a little bit of it to my living room. 

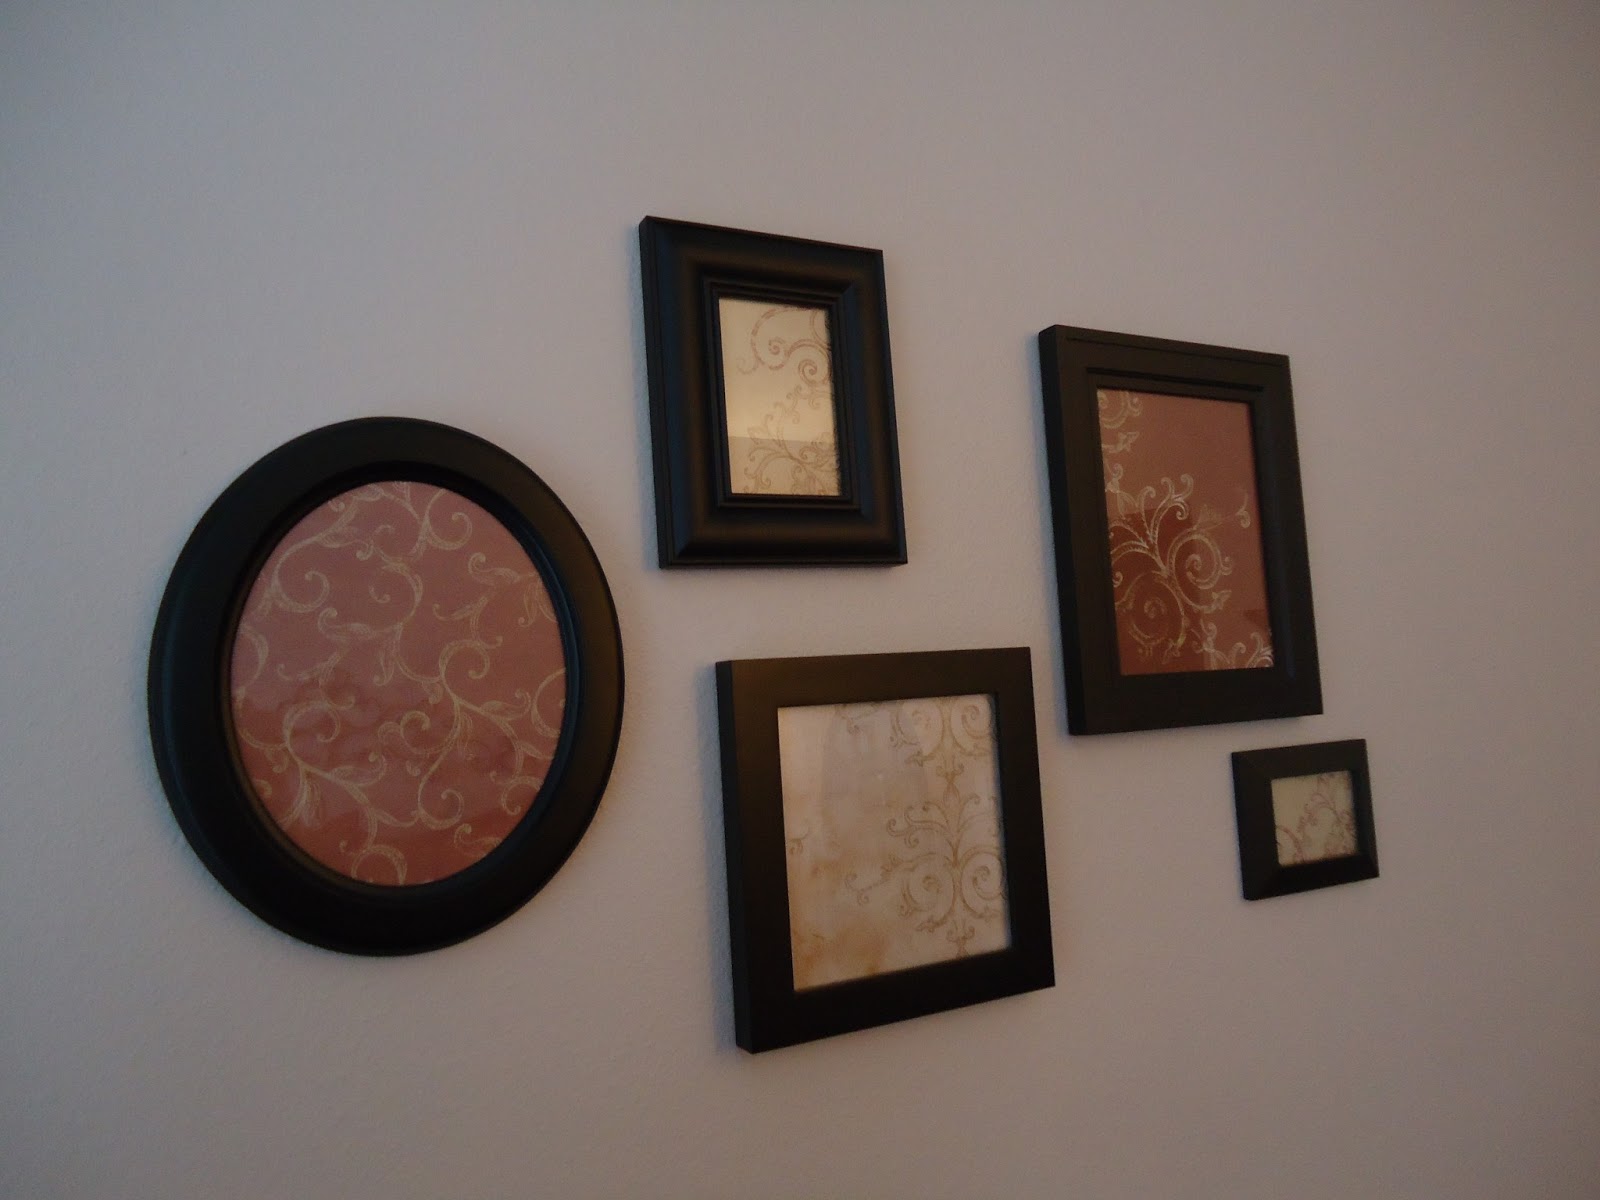
I painted a frame I had laying around and put some scrapbook paper inside. I just happened to already have this paper, and it's so perfect in the frame. It's like it was meant to be.


I'm loving lime green with the navy/grey color that is my new love, and I'm loving this cute and simple addition to my living room decor.

This isn't the first time I've framed scrapbook paper. These frames in my bedroom are also filled with paper. Such an easy and inexpensive way to add color to your home!

Linked to

Thursday, December 20, 2012

top posts of 2012

I had more Christmas crafts and projects I wanted to do this year, but once I got my tree up and my mantel decorated, I kind of felt done. Last year I went all out and used every Christmas decoration I have, and it felt like too much. My house felt cluttered and it drove me crazy all of December. So much, in fact, that I couldn't wait to take everything down after Christmas. That's unusual for me, because usually I wait until New Year's and even then I'm sad to pack it all away for another year.

So this year, I decided to simplify. I love my tree and mantel, and I only have a few other Christmas things here and there. It feels like the perfect amount. That means some of the things I wanted to do or mentioned here and said I would post later aren't going to happen, and I'm okay with that. Maybe next year.

You can see my mantel and tree here if you missed them.

Today I'm going back through some of my most visited posts, starting with my top 3 of all time:

#2 my ruffle shirt

And #1 my glass block snowman {you guys really love this one!}


From that list, the only one that I posted in 2012 was the curtains and curtain rod, so I'm also going to list the top 3 from 2012 {besides the curtains}:


These are some of my favorites too!

I hope you all have a wonderful holiday! I will be spending my 11 days off work {YAY!} doing some much needed work in my bathrooms. Check back next year for pictures of that {you won't believe the before pictures!}, and another year of fun crafts, recipes, and diy projects!

Monday, December 3, 2012

Christmas mantel

For this year's Christmas mantel I used the trees I made that I showed you here and here. It took a lot of rearranging to finally get the end result, but I LOVE how it turned out!

This sparkly reindeer is new this year and I think it might be my favorite part of the mantel.

I already had the garland and the pine cone and berry picks I added in to fill it out a little more, and since I made all the trees, the whole thing came together pretty inexpensively. I love using things I already have in a different way than how I've used them before.


I'm still working on a wreath idea for above the mantel so that part will come later, but I'm loving how everything is coming together! 

Do you do one crazy deck-the-halls day, or take your time and do things slowly like I am? I've done both, and even though the mess of doing it slowly is driving me a little bit crazy, I kind of like it this way. In past years I have just used all the same stuff with a few additions each year so I pretty much just put everything where I had put it before, but this year I'm changing things up quite a bit so it's taking more time to figure out where I want it all. I'm having so much fun with it!

Linked to

Thursday, November 29, 2012

TP roll ornaments

Earlier this week I showed you how I decorated my rustic Christmas tree this year. I made a lot of the ornaments and I love how everything came together. After seeing all the things made out of toilet paper rolls on Pinterest, I knew I wanted to try some ornaments. The cardboard is perfect for my rustic theme this year, and they cost very little to make! Today I'm going to show you how I made these ~


I started saving rolls awhile ago not knowing exactly how many I would need {or even exactly what I was going to do}, and with about 10 or 12 rolls I ended up with 9 ornaments. The first thing I did was spray the outsides with Krylon Caramel Latte to cover up the marks from where the paper is glued to the roll. It's the perfect shimmery caramel color and it's my new favorite spray paint color. Then I cut each roll into rings that are about 1 inch wide. The roll got bent and creased as I cut it, and that was perfect for what I had in mind.

Then I started to assemble my ornaments. Originally I was just going to make the snowflake ones below, but as I was arranging the rings I noticed that some had randomly fallen into place like this ~
I loved it and decided it looked like a bunch of hanging pine cones. For those I just hot glued the rings together in each spot where they meet, and I glued some brown ribbon between the top 2 rings to form a loop to hang the ornament.

To finish them off, I bought some berry picks from Hobby Lobby and glued them on. I'm so happy with how they turned out!

For the snowflake ones, it was pretty much the same process of gluing the rings together where they meet and adding ribbon to hang them.

Here I was trying to capture the difference between the regular cardboard on the inside of the rings and the caramel latte on the outside. It's hard to see in pictures, but I love the combination.

For the front I just gathered pieces of lace in the middle to form circles and glued them on with rhinestones in the middle.

I love how the lace softens the look of these ones and the sparkle of the rhinestones on the tree.

When I started making these ornaments I wasn't sure how they would look or if I would like them, but I'm so happy with how they turned out!

They are so perfect on my rustic tree!

Linked to