Thursday, November 29, 2012

TP roll ornaments

Earlier this week I showed you how I decorated my rustic Christmas tree this year. I made a lot of the ornaments and I love how everything came together. After seeing all the things made out of toilet paper rolls on Pinterest, I knew I wanted to try some ornaments. The cardboard is perfect for my rustic theme this year, and they cost very little to make! Today I'm going to show you how I made these ~


I started saving rolls awhile ago not knowing exactly how many I would need {or even exactly what I was going to do}, and with about 10 or 12 rolls I ended up with 9 ornaments. The first thing I did was spray the outsides with Krylon Caramel Latte to cover up the marks from where the paper is glued to the roll. It's the perfect shimmery caramel color and it's my new favorite spray paint color. Then I cut each roll into rings that are about 1 inch wide. The roll got bent and creased as I cut it, and that was perfect for what I had in mind.

Then I started to assemble my ornaments. Originally I was just going to make the snowflake ones below, but as I was arranging the rings I noticed that some had randomly fallen into place like this ~
I loved it and decided it looked like a bunch of hanging pine cones. For those I just hot glued the rings together in each spot where they meet, and I glued some brown ribbon between the top 2 rings to form a loop to hang the ornament.

To finish them off, I bought some berry picks from Hobby Lobby and glued them on. I'm so happy with how they turned out!

For the snowflake ones, it was pretty much the same process of gluing the rings together where they meet and adding ribbon to hang them.

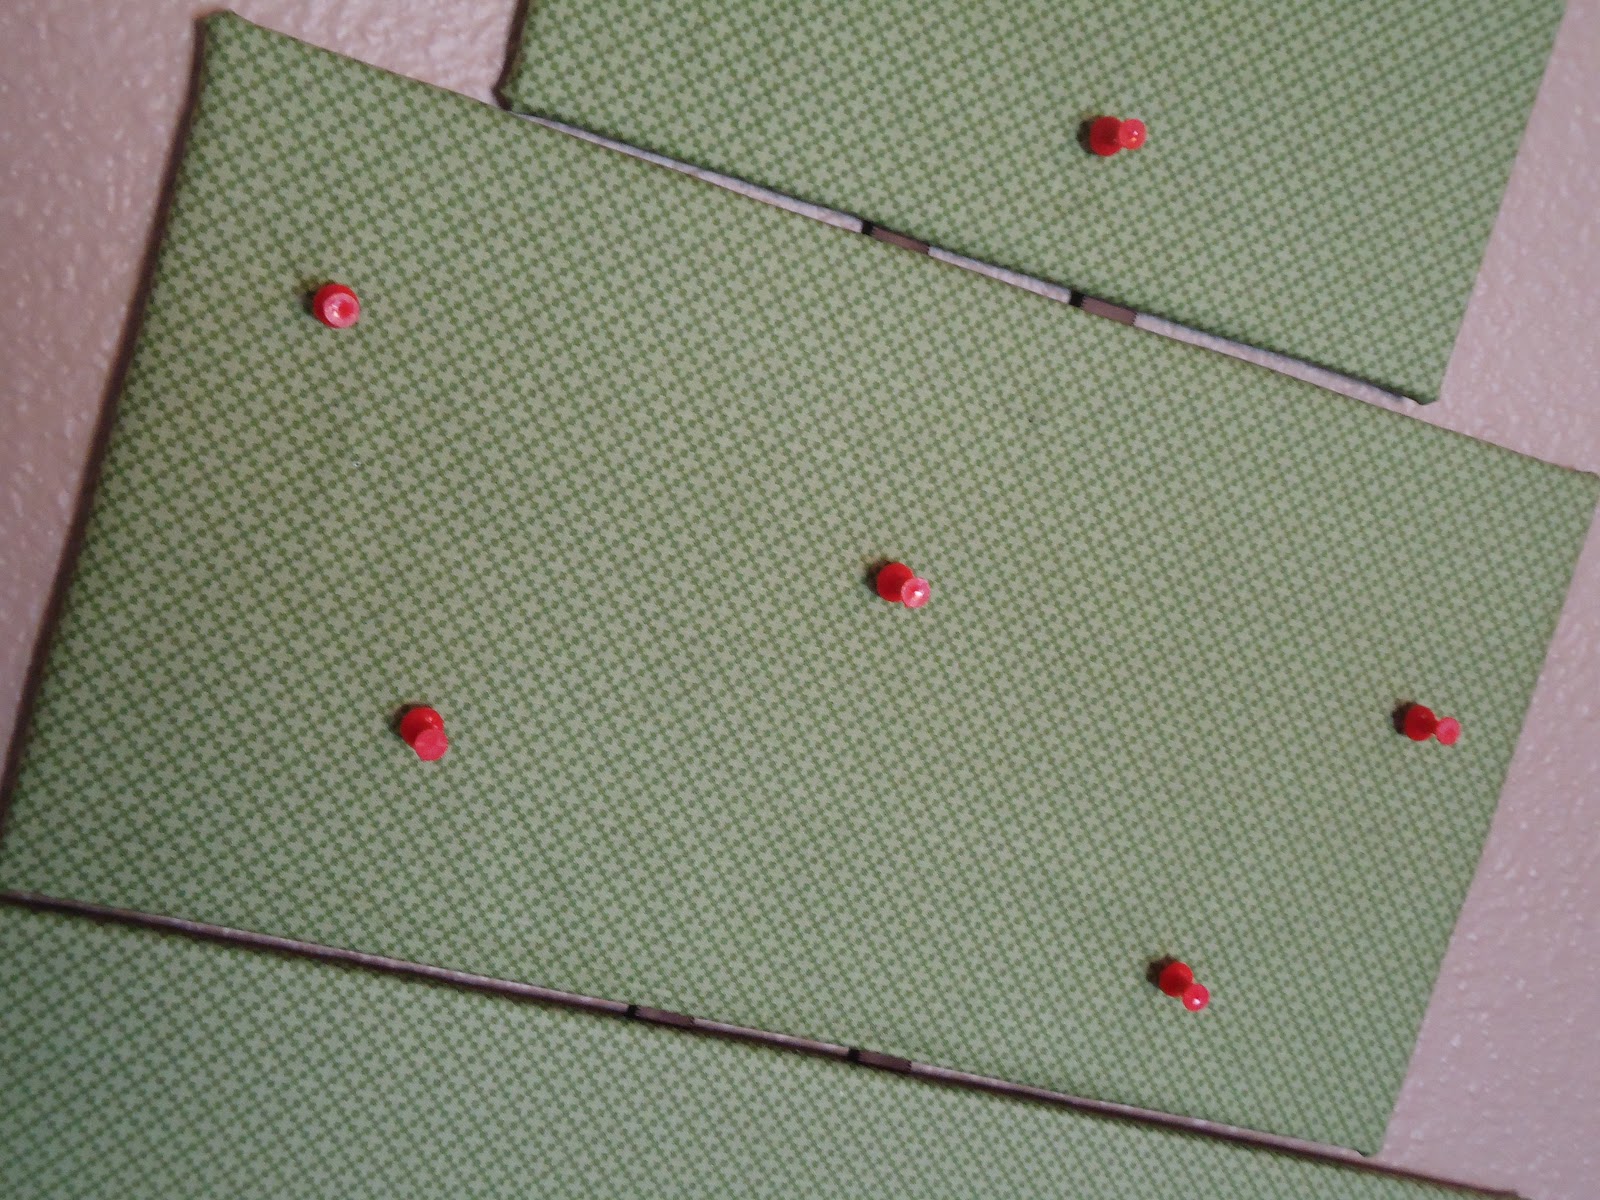
Here I was trying to capture the difference between the regular cardboard on the inside of the rings and the caramel latte on the outside. It's hard to see in pictures, but I love the combination.

For the front I just gathered pieces of lace in the middle to form circles and glued them on with rhinestones in the middle.

I love how the lace softens the look of these ones and the sparkle of the rhinestones on the tree.

When I started making these ornaments I wasn't sure how they would look or if I would like them, but I'm so happy with how they turned out!

They are so perfect on my rustic tree!

Linked to

Monday, November 26, 2012

rustic Christmas tree

 I haven't quite finished putting up all my Christmas decorations yet, but today I'm going to show you my tree! I bought a new pre-lit artificial tree this year and I am loving it. My old one was not pre-lit and it was short and fat compared to my new one. It's funny  how even artificial tree styles change. When my mom bought my old tree years ago {and then gave it to me when she switched to pre-lit} all the trees looked like it. Now they are all taller and skinnier. I always felt like the old one took up half of my living room, so this one is better in every way!

 I made a bunch of new ornaments this year too. My tree is completely different than last year and I really love how it turned out. I'll show you more about these later, but I made them out of toilet paper rolls. They're supposed to look like a bunch of pine cones hanging with leaves and berries.

 These snowflakes are also from toilet paper rolls

 Here is one of my lantern ornaments that I showed you here

And of course I still had to use the ornaments I have bought in my travels. This one is new this year.

This is one of twelve and they're not new this year, but I love how they look with the rest of my tree this year. They're from Prague.

This one from Ireland is also new this year.

 This close-up shot shows you all the things I love about my tree this year ~ burlap, twine, lace, pine cones, a little bit of red, and snowflakes.

I usually change out my purple curtains for red ones in December, but my HOA doesn't like it because they aren't white on the back {lame}. I haven't decided if I'm going to buy white fabric and line them, or just hang them how they are and let the HOA be mad for a month. The purple has to go though.

More Christmas decorations ~ including my mantel and more details on the toilet paper roll ornaments ~ coming soon!

Linked to

Monday, November 19, 2012

Christmas Cooking Day

This past weekend I went to St George for a mini-vacation with my friend Rikki. We shopped, ate good food, saw Taken 2, had lunch with my grandma who lives there in the winter, and had Christmas Cooking Day. It's something we used to do in high school but have only done a few times since then because we don't live close to each other. We would spend the day making all the Christmas treats we wanted to try, then that night we would have our friends come over and eat them. It was a great way to try lots of things but not eat them all ourselves.

This is Rikki's kitchen in the middle of the disaster. We had several recipes going at a time and cleaning up seemed pointless. All part of the fun, right?


And here are the finished treats!


Rikki's daughters wanted to be in a picture

If it was closer to Christmas we would have taken plates of our treats to friends and neighbors, but we thought that would seem weird since it's not even Thanksgiving yet so this was just a practice run. Not giving away those brownie cookies is a good/bad thing. They are going to make me a bigger person. 

We had so much fun this weekend and now I can't wait for Thanksgiving!

Tuesday, November 13, 2012

forest of handmade trees ~ part 2

A few days ago I showed you these three trees that I made. You can see that post here if you missed it.

Today I'm going to show you three more!

First, the ruffled fabric tree ~ I love this one. I've had this fabric for years {I made a quilt and way overestimated how much fabric I would need} so it was fun to dig it out and find another use for it. All I did was cut some strips and then folded them over to make ruffles as I wrapped them around the cone. I didn't measure how wide the strips are, but I would say about an inch. I left the raw edges because I think as it starts to fray it will add even more character. I just used pins to attach the fabric to the styrofoam.

I think it turned out so cute!

Next, the furry tree ~ I have mixed feelings about this one. It's made out of scraps from a blanket I cut up and I think it's cute, but I'm not sure if I love it. What do you think?

I added some beads for a little bling and I think that made a big difference. On its own it might not be the cutest one, but I do think it fits very well with the rest when they're all together.

This is where the scraps came from. I bought this blanket because it was the softest thing I have ever touched and it was on sale, but it really wasn't that warm when I got it home. So I cut it up and made pajama pants out of it! These are the most comfortable thing I have ever worn and I'm so in love with them. Definitely better than the blanket.
I didn't take pictures as I was making the pants, but if you want to see a good tutorial, here's one

And finally, the lace tree ~ I love this one too, and it took about 3 minutes to make. I just wrapped strips of lace around the cone and secured them on the back side with pins.

This picture is kind of blurry so it's hard to see the detail of the lace, but it's really pretty and I love the feminine touch it adds to my forest of rustic trees.

And here are all six of my trees together! This picture makes me so happy and I can't wait to see them all on my finished mantel!  

Linked to

Monday, November 12, 2012

forest of handmade trees ~ part 1

I've been working on some fun trees to add to my Christmas decor this year, and today I'm going to show you the first three I made. All of these are fast and easy, and they use supplies you probably already have in your craft stash!

First, the yarn tree. This one took all of 5 minutes to do. I had this chunky off-white yard left over from a previous crochet project and was happy to have another use for it. All I did was hot glue the end of the yarn to the tip of the tree and start winding. When I got to the bottom I put glue all around the bottom edge of the cone so the yarn wouldn't fall off. 

If you don't like the slouchy look it has you could use dots of glue here and there as you wind, but I kind of like it this way. I didn't mean for it to turn out slouchy, but I think it was a happy mistake :)


I used a hollow cardboard cone for this one and I thought if you wanted it to have a trunk you could use a candlestick turned upside down.

Very cute, and it would add some height if you need it.


Second, the fabric tree. For this one I cut two circles out of fabric and pinned them to the top and bottom of the cone (I used a styrofoam cone this time so it has a flat top and bottom that I wanted to cover). I used some leftover fabric from my Christmas card pinboard.  Next I cut 2 inch strips of the same fabric, folded them in half, and started wrapping from the top down. I just used pins at the beginning and end of each strip to attach it to the cone. I didn't really keep track of how long this one took, but I would say probably about 15 minutes.


And third, the twine tree. This one is similar to the yarn tree except I used a styrofoam cone so I needed to cover the flat top. I just started wrapping the twine in a spiral to make a flat little disk that I glued to the top of the cone. Then I just kept wrapping all the way down and used glue around the bottom of the cone to hold the twine in place. This one took about 10 minutes to make.

You can see a little bit better how I covered the top in this picture.

In about half an hour I had the beginning of my own little forest that I can't wait to see all put together with the rest of my rustic Christmas decor!

Check back soon to see the rest of the forest!

Linked to

Thursday, November 8, 2012

Christmas card pinboard

If you're like me, finding a way to display all the Christmas cards that come in the mail is always a challenge. I want to have them out during the Christmas season, but I don't want them to look messy or compete with my Christmas decor.

 I recently ordered a custom frame that came with two pieces of foam board as part of the packaging, and I kept them knowing I could use them for something. 

I decided to use them to make a board to pin Christmas cards to, so I went to the fabric store looking for some Christmas fabric to cover them with and ended up with a green print that isn't necessarily for Christmas, but I liked that it has a pattern without being too busy once all the cards are pinned to it. 

When I got home, I realized it would be cute to make the board into a Christmas tree! Between the two boards I was able to get three pieces that are 20", 15", and 10". I just cut them with my exacto knife.

When I set them out like this I realized that depending on the colors you choose and how you decorate it, it would be cute as a snowman or a stack of presents too!

Then I just cut out pieces of fabric a little bit bigger than the boards and hot glued them on. To make clean looking corners, I glued the corner of the fabric to the board first and then glued each side.


Then I glued ribbon to the back to hold them all together.

And finally tied a bow at the top to hang it on the wall.

Right now the red pins look like ornaments, and once the Christmas cards start coming in they will be used to pin them to the board!

I love getting Christmas cards in the mail, and I think this will be the perfect way to display them this year!

Linked to